Given that spring is around the corner, I thought of writing up on this topic as a value add so that you’re able to refer to this for some ideas on how to approach growing your own herbs! Soon it’ll be time to sow your herb seeds to grow into young saplings you can plant out when the frost risk is minimal and the ground warms up!
Have a read for some secrets for the best soil preparation, best position and fertiliser types to use, among other things!
And … pssst … for anyone who would like to try my family recipe for mint sauce/chutney, I’ve added that as a bonus! No, it doesn’t taste like the green coloured stuff in the restaurants. It’s a proper Indian-Punjabi homemade sauce!
Given it’s length I’ve broken the topic up into two parts
Part 1 – reasons grow herbs, health benefits, growing herbs indoors
Part 2 – practical tips from proper soil preparation, fertilising etc and the bonus recipe!
PART 2
Position
As mentioned in Part 1, most herbs need sun. Their flavour and scent is stronger when they have adequate sun.
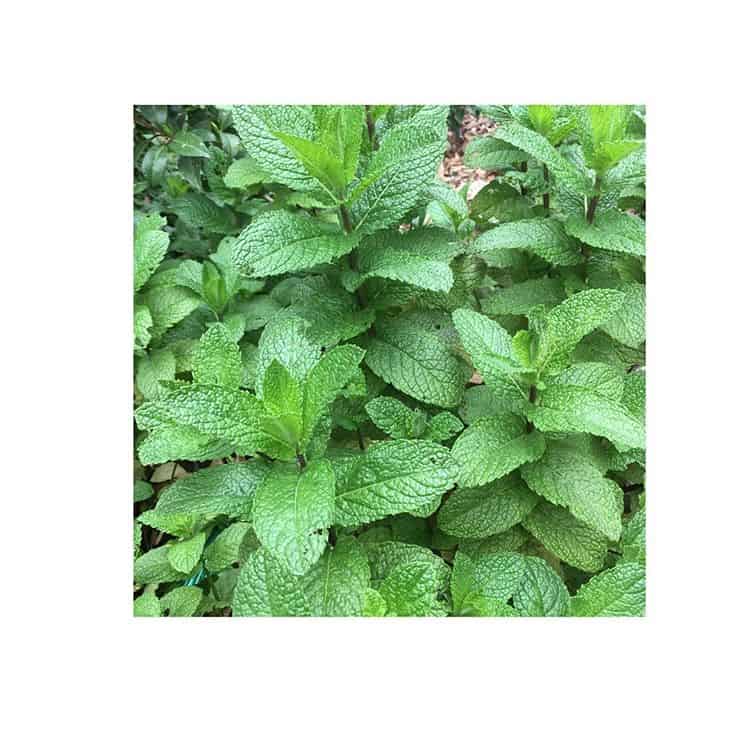
Herbs with grey leaves like lavender and rosemary require more sun, whilst parsley, mints and lemon balm will take less. I’ve grown Some like mints will take partial shade quite well.
It’s really growing them by trial and error as it will also depend on your soil profile (discussed further below).
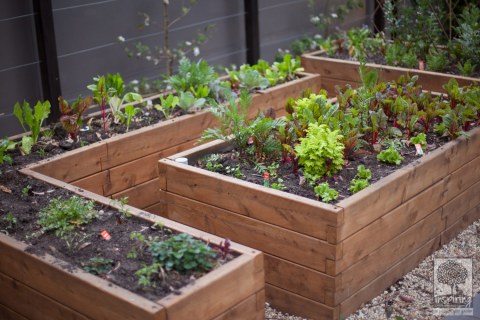
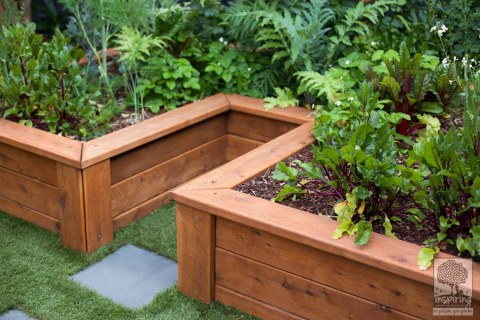
Try to spread them through your garden as honestly it will be a good excuse for you to see what your garden has to offer from time to time, or create a separate herb garden bed of their own.
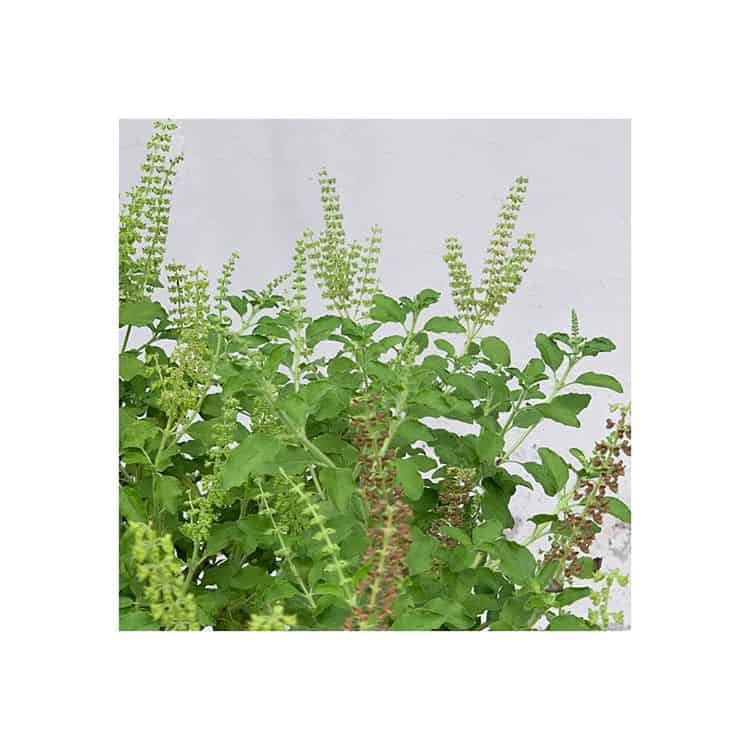
Growing them amongst your vegetables has a secret benefit – they not only make great companions pestwise, but are able to enhance the growth and the flavour of their best buddy vegetables. For example, basil and borage are known to improve the flavour of tomatoes they are planted next to and repel pests at the same time.
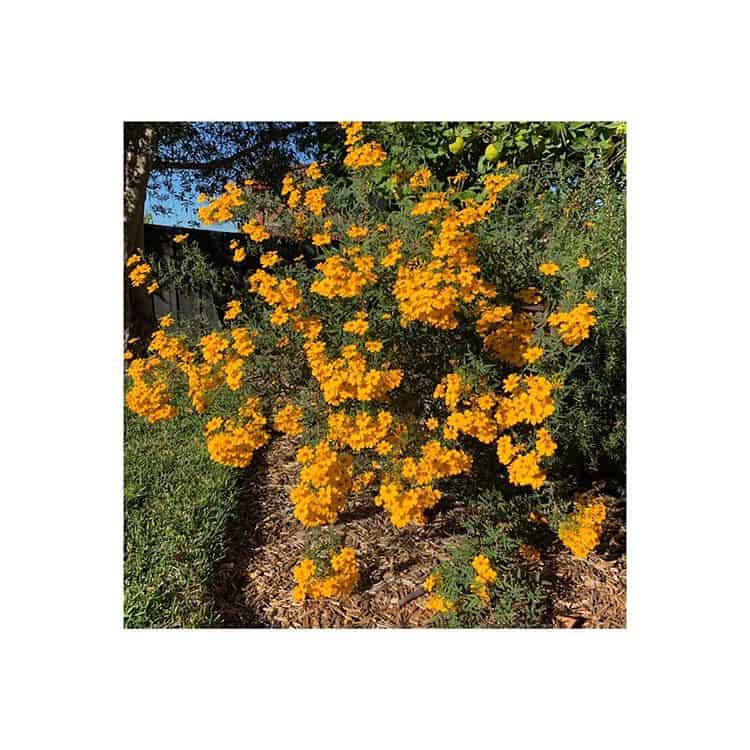
Another example of a commonly used companion plant is the marigold (the tagetes type)[1]. It enhances the growth of basil, tomatoes, eggplant, melons and brassica’s like broccoli and cabbage. So do your research!
The best spot for me for my herbs is the kitchen bench of course. However, I do have a large vegetable patch in my backyard that has all the herbs I use (mostly self populating as I apply the food forest concept to my patch).
I strong recommendation is to have a good think about what spot works practically for you. I’d suggest to choose a spot closest to the house for easy access. You don’t want to wander through your garden in the middle of a rainy wintery day to complete your roast!!
[1] The Mexican type marigold apparently has a herbicidal effect on some plants like beans and cabbage.
How much space?
The first step will be to decide which herbs you would like to grow and how much room you will need. Make some notes on how they grow, how tall, how wide, do they like lots of sun or do they prefer shade. Then go from there!
Soil
As with any type of plant, soil preparation is key.
Most herbs need good drainage and grow best in a light crumbly soil. Clay soils will need compost and manure dug through to build up the organic matter in the soil to release the nutrients contained within the soil profile and improve its friability. Ideally, this should be done at least a couple of months prior to planting. Soil preparation such as this results in better drainage.
Sandy soils also need compost and manure added to give nutrients and help retain moisture.
Most herbs like a slightly alkaline soil so you can add dolomite to increase pH. Testing your soil pH is pretty easy – simple kits are available from Bunnings stores near you.
Fertilise
Fertilise with a complete fertiliser or organic dynamic lifter and organic liquid fertiliser. I tend to go with the organic stuff as I’m pretty sceptical of the chemical based ones and the systematic impacts they have on plants and therefore us, when we ingest them.
In my herb garden I also use a lot of compost with chook poo and mulch with lucerne mulch[2]. When I can hold of it – I use lots of sheep poo! Sheep and poultry manure are higher in most nutrients than horse or cow manure.
On a side note, make sure that you composted manure as raw manure can contain nutrient levels that are not safe for some plants or carry unsafe traces of hormones or diseases.
Transplant shock
When planting I’d suggest to dunk the pots or seed trays into a bucket of liquid seaweed before planting out to ensure that they are moist and to reduce transplant shock.
[2] Using mushroom mulch would be ok for herb gardens as its pH is generally alkaline but remember to check if the herbs you are planting would actually thrive in that pH.
Water
It is quite important to water the herbs well when first planted. Water regularly for the first week or so. Once plants have settled in, rather than giving frequent light sprinkling, water deeply less often as this will encourage plant roots to grow deeper into the soil.
Mulch
Mulch (hay, straw, cane mulch) insulates the ground and reduces evaporation, reducing the amount of watering. Mulch also hampers weeds from growing.
Pots and Baskets
Herbs can be grown in pots and baskets but they would need a little more care.
Drainage holes in the container you’re using is a must to prevent roots rotting. Use a good quality free draining potting mix. I love using the Debco Terracotta & Tub Superior Potting mix as it’s always worked for me. Organic liquid fertiliser can be applied every couple of weeks or you can use a slow release fertiliser.[3]
How much you need to water your pots of herbs will depend on many factors including how much sun, wind and the type of pot or container you use, come will dry out quicker than others (unglazed terracotta pots dry out very quickly).
Use your finer to check if the herbs need watering, stick you finger 5cm into the soil. If the soil is damp, do not water. If the soil is dry, give the herb a really good soaking. Then let it dry before watering again. It is better to water really well every few days than to give a light sprinkle every day.
[3] Apparently these are heat triggered so becareful in using them.
Bonus – home-made mint sauce/chutney
This is for you if you love eating pakora’s or fried onion bhaji’s or need that little bit of tang condiment to your mouth watering Indian meal (yes I’m biased lol). It’s super easy to make and you can whip this up in 15 minutes!!
What you need
A blender/food processor
2 medium onions, 1 sprig of peppermint, salt to taste, fresh raw chillies, tamarind paste, some water if required
An empty stomach…to eat of course
How to
Wash the mint. Peel the onion and wash it.
Use all the leaves and soft/young part of the stems. Don’t use the harder part of the stems as they are fibrous. Chop up the mint and onion roughly with a knife.
Use your blender, adding the mint and onion a little at the time. Adding a little water helps. Try a tablespoon at a time to get the blending action going. Don’t add too much as you’ll also add the tamarind paste later and don’t want your mix too runny
Add the amount of chillies you can take into the blend. Add one at a time and taste!
When all the fresh ingredients are done, add the tamarind paste and salt to taste
Enjoy your yummylicious mint sauce!
See told you it is super easy!!
Hint – don’t throw away those extra mint stems. Soak them in clean water and you get free herb plants to be planted out.
Optionals – Instead of tamarind paste, you can add freshly squeezed lemon juice or fresh green (raw) mango pulp or dried pomegranate seeds to give you the tang.
Adding the pulp of boiled eggplant/brinjal will get you another yummy condiment variation.
Some people mix in yogurt but I find it doesn’t keep as long. The chutney lasts a long time in the fridge otherwise. So if you want to add some yogurt, add it just to your serving portion before serving!
Links
Hungry for more information on various aspects of the article above?
Then check out the following write-ups which could assist!
Pros and cons or using manure as fertiliser
In the meantime, have a look at my blog on autumn vege patches or visit my past projects below which also squeezed in some beautiful herbs and vege patches!
Blackburn
Bundoora
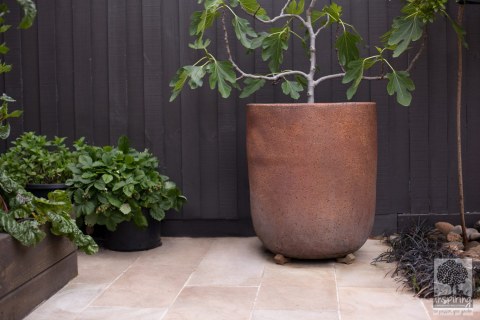
Kew
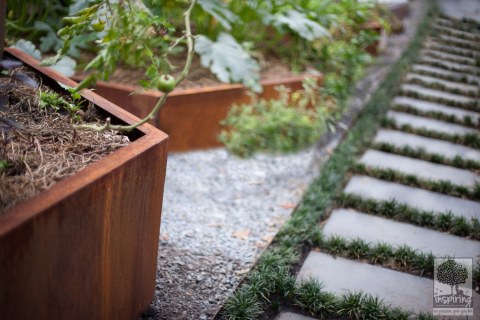
Vermont South A
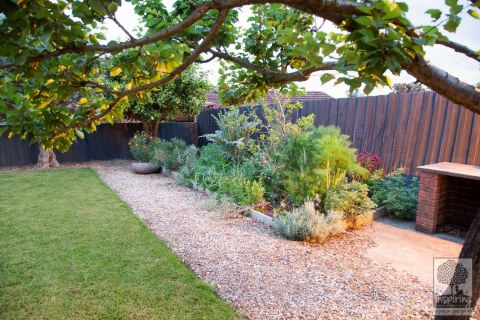
Caulfield
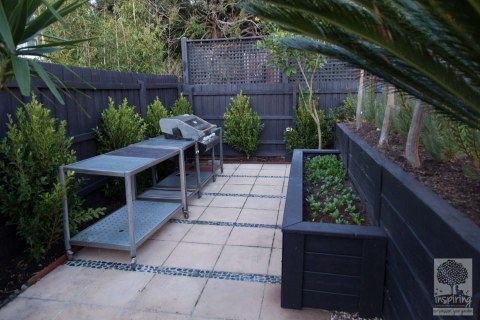
Glen Waverley
If you need further suggestions or design or plantscaping both indoors and outdoors, please contact us for an onsite 90 minute consultation.
Refer to our packages for further detail on how we can help you in the consults and subsequently throughout your garden implementation process.
Our passion your garden! xx
